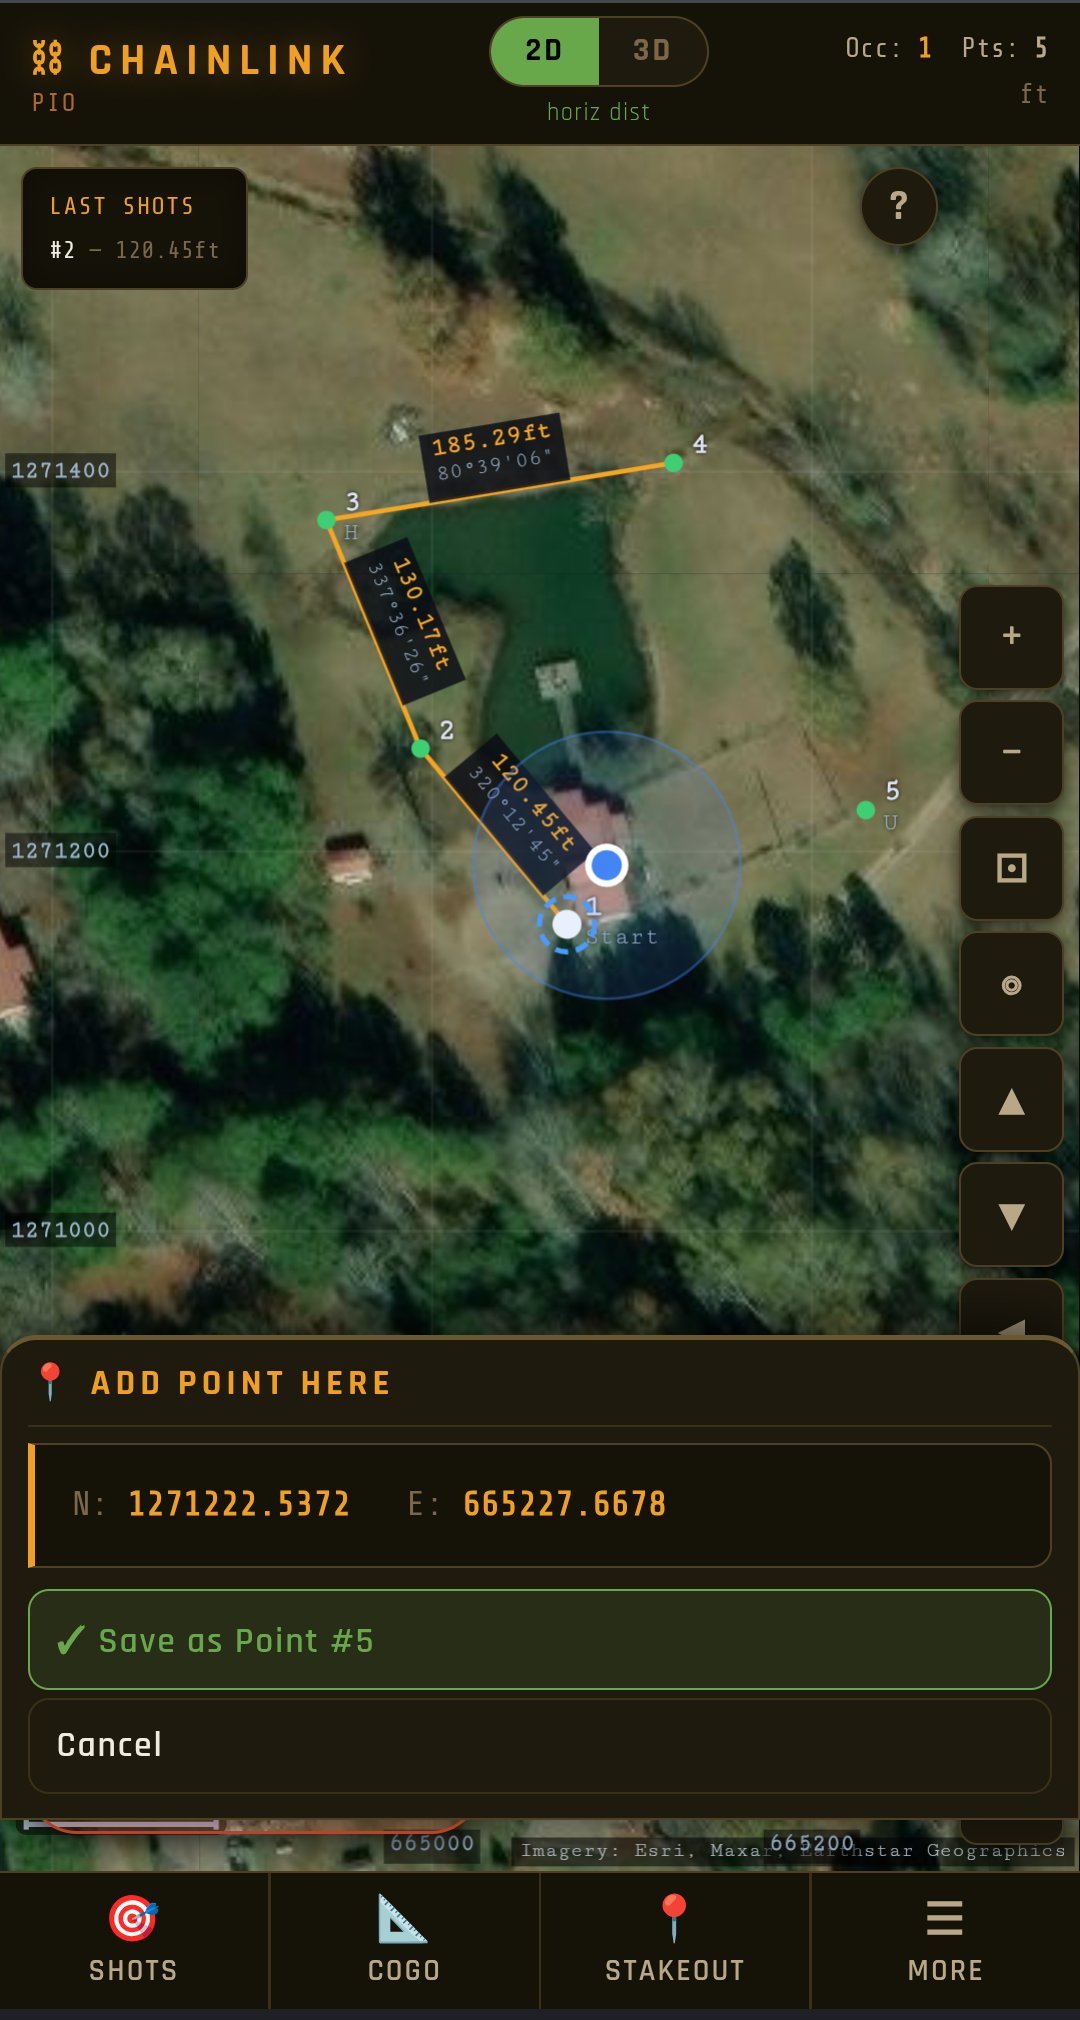
How a shot works
In 2D, you enter the point number, a description, the azimuth and the horizontal distance. In 3D, you also enter the zenith angle, the slope distance (or horizontal, depending on your instrument profile), the instrument height and the target height. Elevation is computed as:
Z = station elevation + HI + SD × cos(zenith) − TH
The change in elevation previews live as you type, so you can sanity-check before you store. Point numbers count up on their own, the description carries forward for runs of the same code, and you choose whether each shot draws a solid line, a dashed line, or no line from the last one.
Angles go in as DDD.MMSS, so 90°15'30" is typed 90.1530. The keypad is built for that format, and results can display as azimuths or quadrant bearings.
Setting up on a station
Occupy a stored point, or enter the station's coordinates directly. ChainLink works in true azimuths, so you orient the instrument the usual way: inverse to your backsight for its azimuth, set that on the horizontal circle while you're sighted on it, and shoot.
A check shot to a known point then reports the angular and distance error and rates the position residual Good, Fair or Poor. It's worth doing at every new setup.
For the shots that matter
- Two-face shots average direct and reverse readings and report your instrument's collimation error, and in 3D its vertical index error, in arc-seconds.
- Offsets handle shots where the prism can't sit on the point: a fence line, a building face, the edge of a feature.
- Atmospheric PPM and prism constant corrections apply to every measured distance. Only turn PPM on if the instrument isn't already applying it.
- Point averaging combines repeated shots on control into one tighter position.
Starting a job and getting it home
Start on an assumed coordinate, an existing point list, or one GPS fix that puts the job on your state's State Plane grid with the ground elevation filled in from USGS data. A coordinate list can be pasted or photographed straight off a plan sheet.
The raw observations are kept with every point, so a reading can be corrected later and the coordinate recomputed. When you're done, export:
- CSV to reprocess in the office
- DXF with points, labels and linework on separate layers and arcs as true arc entities
- LandXML 1.2 for Carlson, Trimble Geomatics Office and Leica Infinity
- KML for Google Earth, a PDF plot, SVG and GeoJSON
Your first shots
- Open the app on your phone and add it to your home screen so it runs offline.
- Start a new job and set your starting point by GPS, by coordinates, or by importing a point list.
- Choose 2D or 3D, then Occupy your station and set the instrument height.
- Orient on your backsight and take a check shot to confirm the setup.
- Tap Take Shot, key in the readings from the gun, and store.
Questions
Does it connect to my total station by cable or Bluetooth?
No. You key in the readings from the instrument. That is why it works with any total station, including older guns that have no data port.
Which total stations does it work with?
Any of them. Because readings are keyed in, the brand and age of the instrument don't matter.
Does it work without cell signal?
Yes. Once the app has loaded it works with no signal, and your jobs are stored on the phone.
Does it work in feet and meters?
Both. Switching units can convert every stored value using either the US survey foot or the international foot, or simply relabel the numbers.